

I love making homemade sushi! It isn’t too hard to do and it tastes delicious. While it may seem intimidating, I have a fool proof method for rolling the sushi that anyone can master! You can do it with or without a sushi mat. In this homemade sushi 101 post, I will also go over what proteins to use, filling options, rices to use, toppings, sauces, and how to cut your rolls.


Sushi can be a great creative canvas for different flavors and textures. I hope you will have fun playing around with different kinds of rolls and find some combos that you love.
For sushi recipes seen on this post check out the recipe links below:
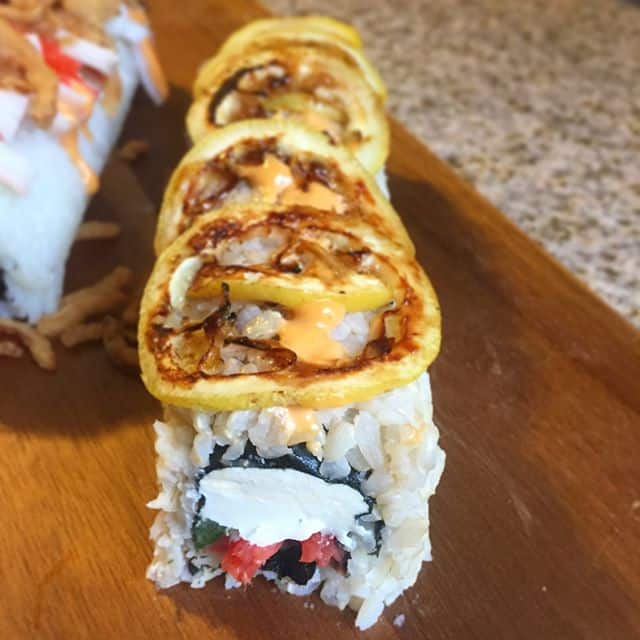
- Smoked Salmon Sushi Roll RECIPE HERE
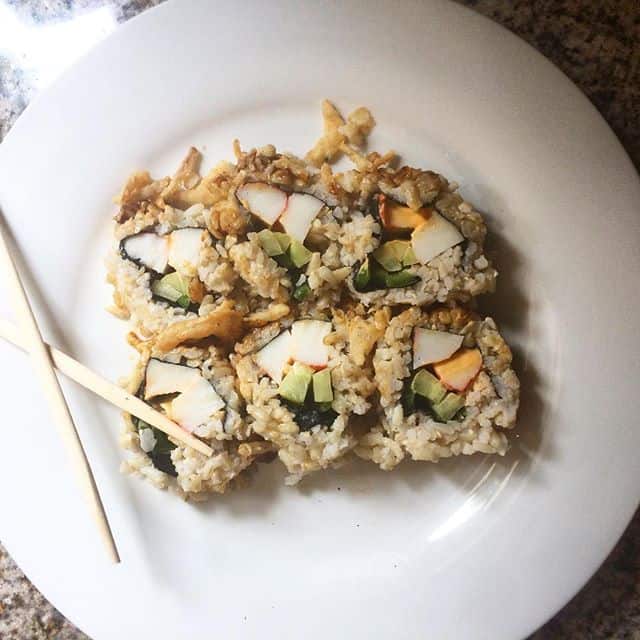
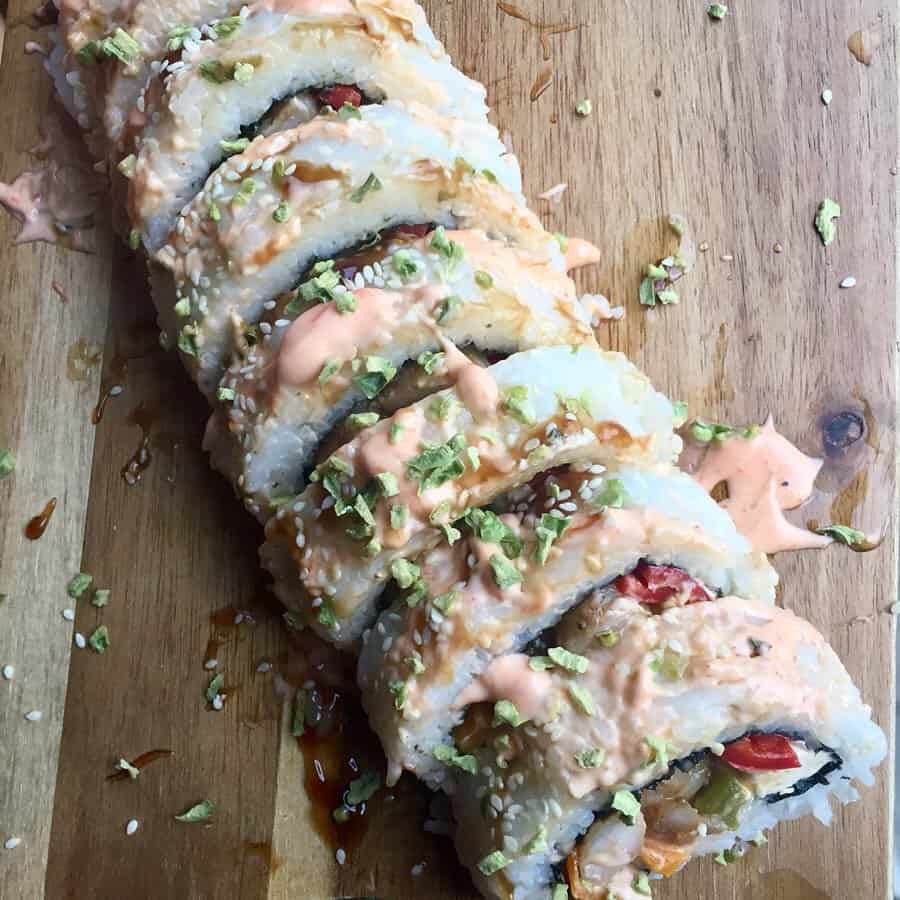
- California Crunch Sushi Roll RECIPE HERE
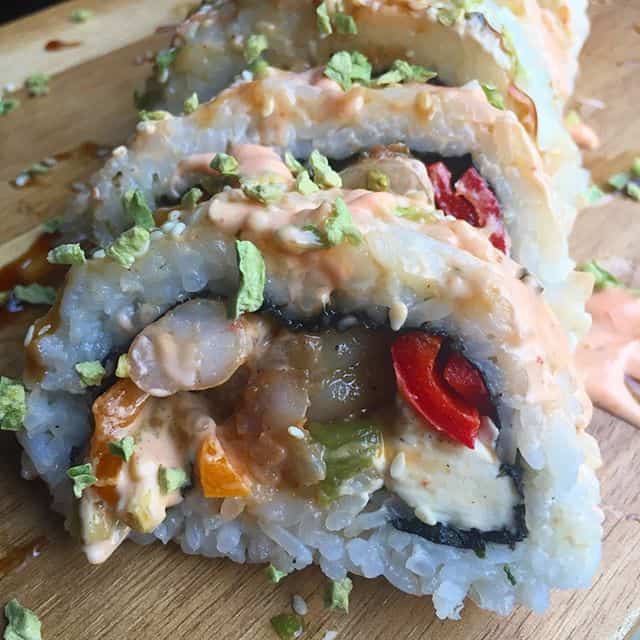
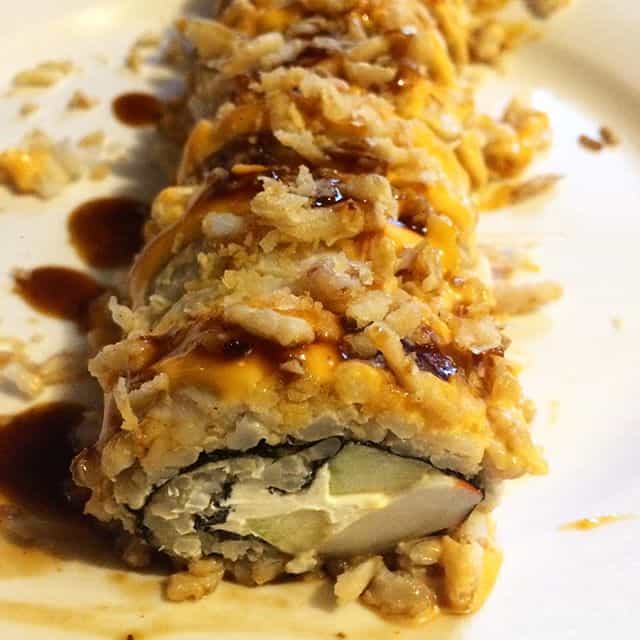
- Pepper Shrimp Sushi Roll RECIPE HERE
Let talk about proteins.
Finding sushi grade fish can be a little intimidating. Fear not, the answer to finding sushi grade seafood lays with your seafood counter personnel. They will let you know if they have any sushi grade products available. Availability really differs depending on the stores you shop and what city you are in. You can ask around or check online reviews to find a store near you that sells sushi grade products. If you don’t have any sushi grade seafood or fresh fish scares you a little to use at home then there are a lot of other options involving cooked fishes or seafood that will work great in your rolls.
Some of my favorite cooked seafood options are tempura shrimp (freezer isle for per-battered – huge time saver), imitation crab (which is not crab but white fish), shredded crab, smoked salmon, baked salmon, smoked trout. If you are into caviar you can also find that at most grocery stores.
Want to skip the seafood?
You can also skip the seafood all together if you want or are catering to someone allergic or that isn’t a seafood fan. That may seem like you are de-sushi-ing sushi, but trust me when I say it still tastes like sushi. The nori does a great job of giving you that classic sushi flavor.
What else do you put into a sushi roll?
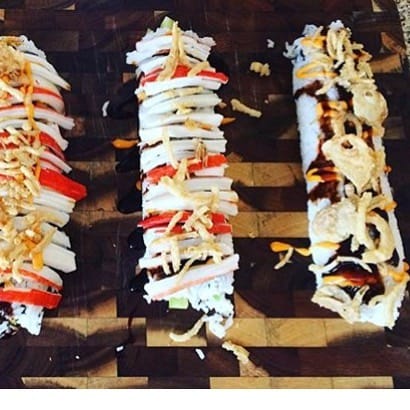
The insides of a sushi roll can vary, usually you want a creamy element such as avocado or cream cheese. You want a few crispy or crunchy elements too, like cucumbers, peppers or even jimaca if you want to get creative. If you are doing a smoked fish you may want to mix the smoked fish with some cream cheese. The options are limitless. You can also put sauce into the middle of the rolls . I usually do to add a little more flavor. I will talk about sauces more below.
What sauces do I use?
There are alot of different sauces that can be used. Eel sauce, spicy mayo and rice vinegar with a little bit of sugar added are probably the most common. A few other sauce I like to use are oyster sauce, teriyaki sauce, sweet chili sauce, sriracha and toasted or black sesame seed oil. They all give there own flavors to the roll and what you use really depends on the flavor profile you are wanting to achieve in your roll. I tend to lean more towards the slightly spicy with a creamy, salty, sweet and slightly acidic flavor profile but again the options are limitless.
What do you top it with?
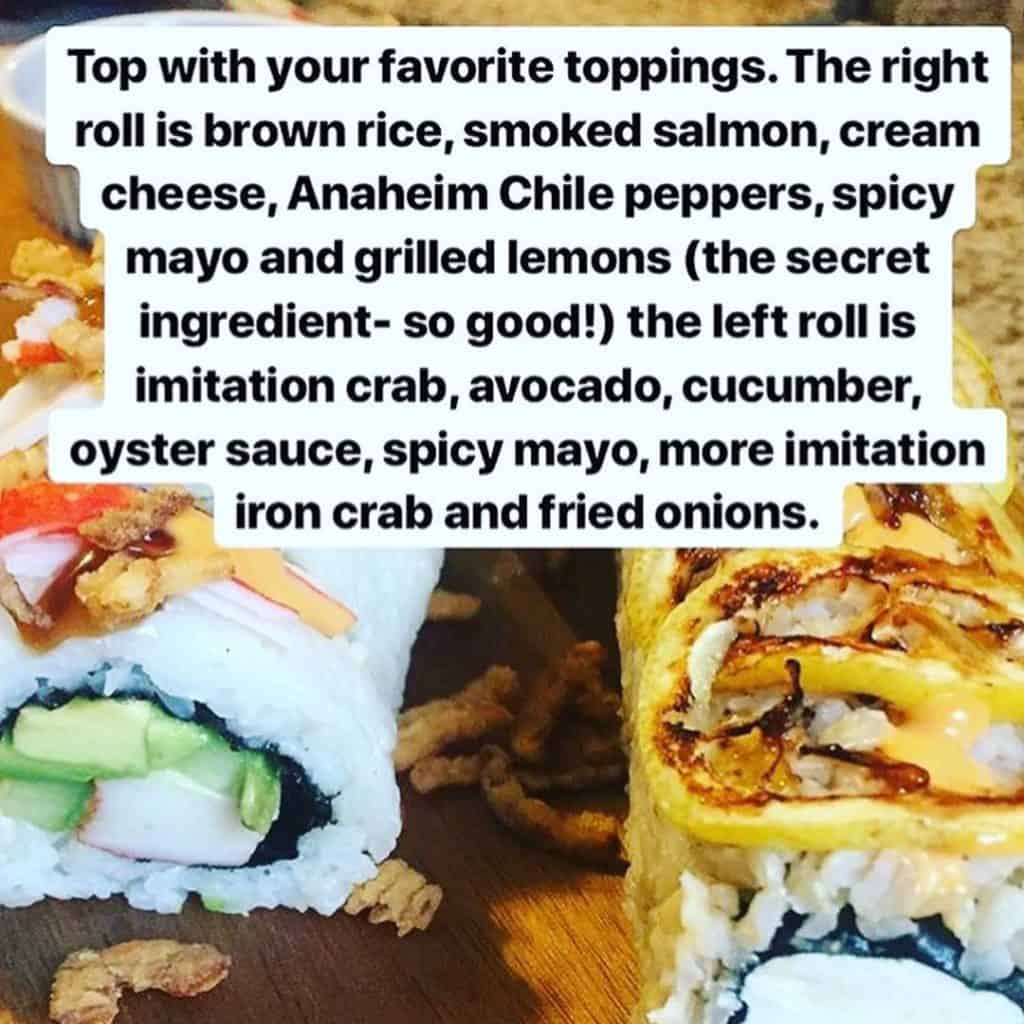
I love to add texture on the tops. When you add a crispy element on top verses inside the roll, it allows the ingredient to stay crispier longer. So I love to add french fried onions, sesame seeds, freeze dried jalapenos, fresh peppers diced, grilled lemon, more fish or seafood and more sauces to the tops. This is also what will make your rolls look super delectable and beautiful!

What rice to use?
Sushi grain rice is an extra short grained rice, so it cooks fast and retains a lot of starch in it. That way it easily sticks together. Thus the reason it is the rice most commonly used in sushi. However, you can use brown rice, quinoa or any other kind of rice. When using brown rice you will want to add a little more water when cooking it, so the grain slightly breaks during the cooking process, you don’t have to do this but it does help the rice stick together better. Another way to keep a non-starchy grain in a sushi roll is to place the nori or seaweed wrap on the outside. I do this when I make sushi with quinoa. It does get a little messier when you slice it though so keep that in mind when picking a rice or grain to use.
You can also make a sushi bowl where you skip the rolling process and eat it in a bowl or you can not slice it and eat it sushi burrito style.

How do I roll a sushi roll?
Rolling sushi rolls can be a little daunting. However, I have an easy technique that will have you feeling like a sushi master in no time. It involves plastic wrap, a rolling pin and a sushi mat or a towel, you can also use your hands without a sushi mat or towel. It may take you a little time to figure out the perfect filling amounts but rest assured you will get it quickly and this technique is one you’ll probably always use.
The pictures below were taken before I became a food blogger and only had a little Instagram where I would share my recipes. So they need some updating but they will show you how to easily roll sushi.

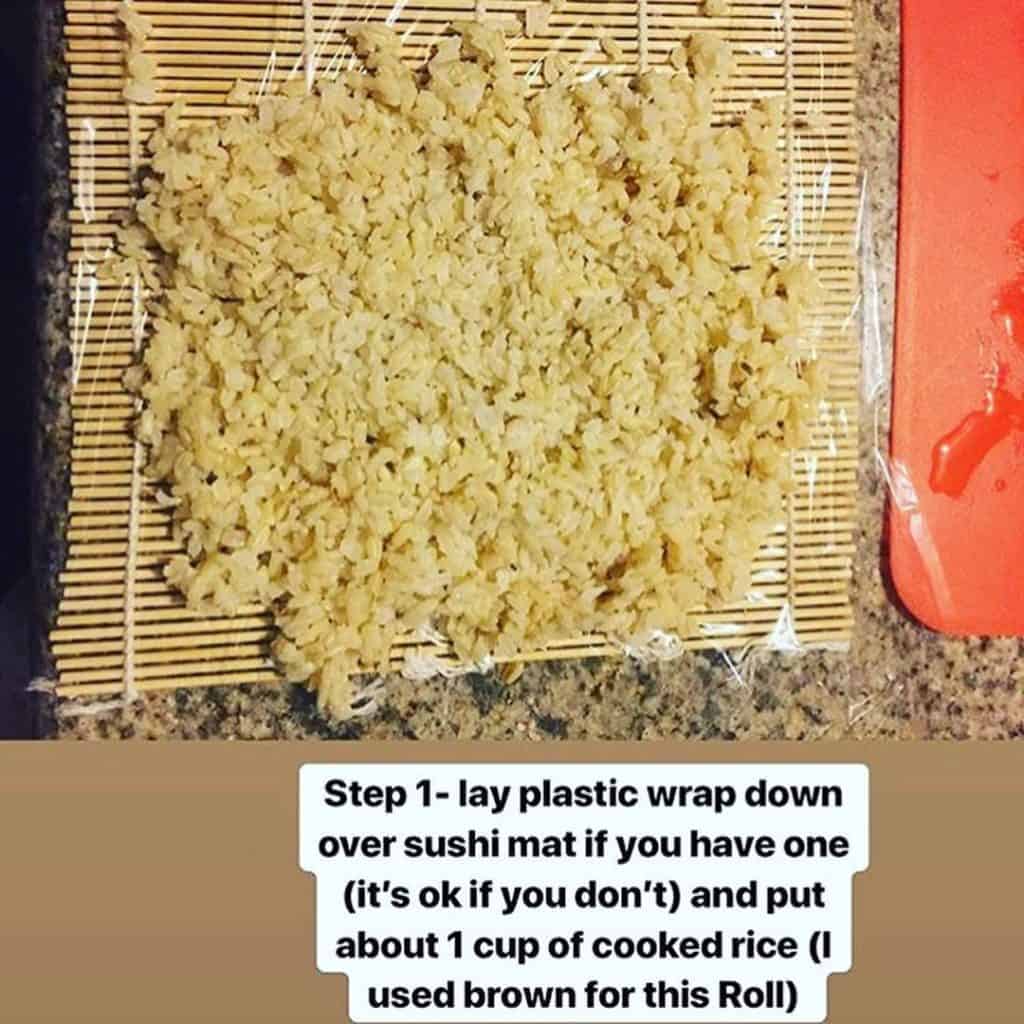
The amount of rice may vary depending on the size of your nori, there are large nori wraps and there are smaller ones so adjust rice measurements to whatever size you need.
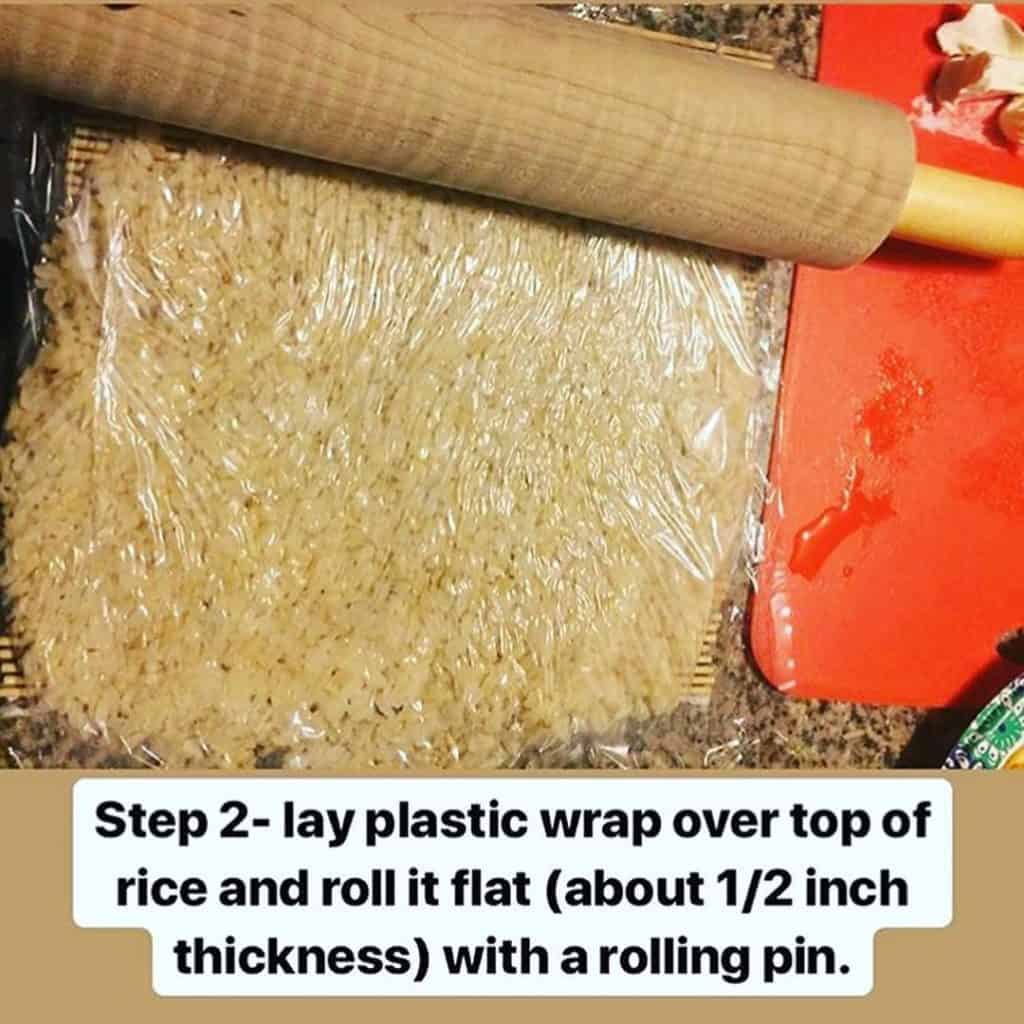
I like the 1/2 inch thickness but if you want it thinner you can do that too (beware of going too thin though or your rice won’t stick to the nori completely) or if you want it thicker then go thicker.
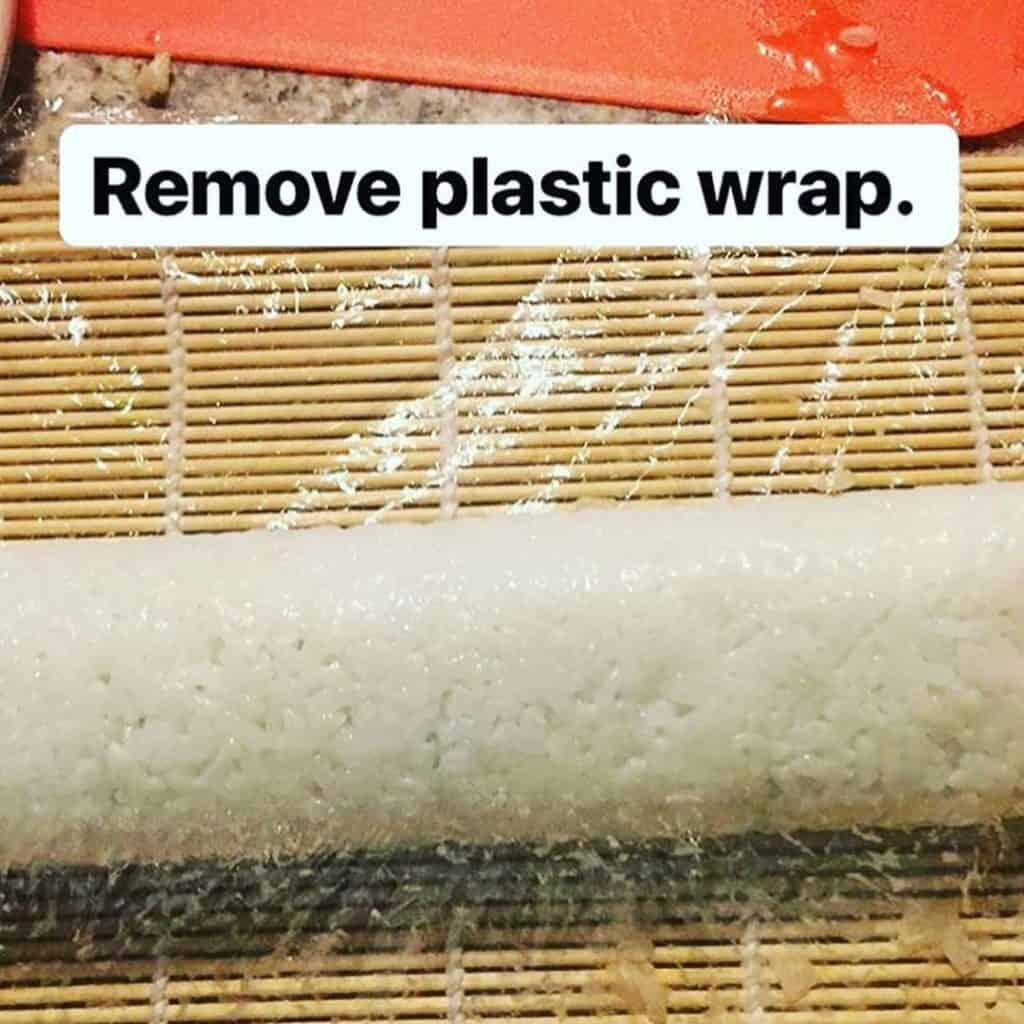
Remove the top layer of plastic wrap before the next step.
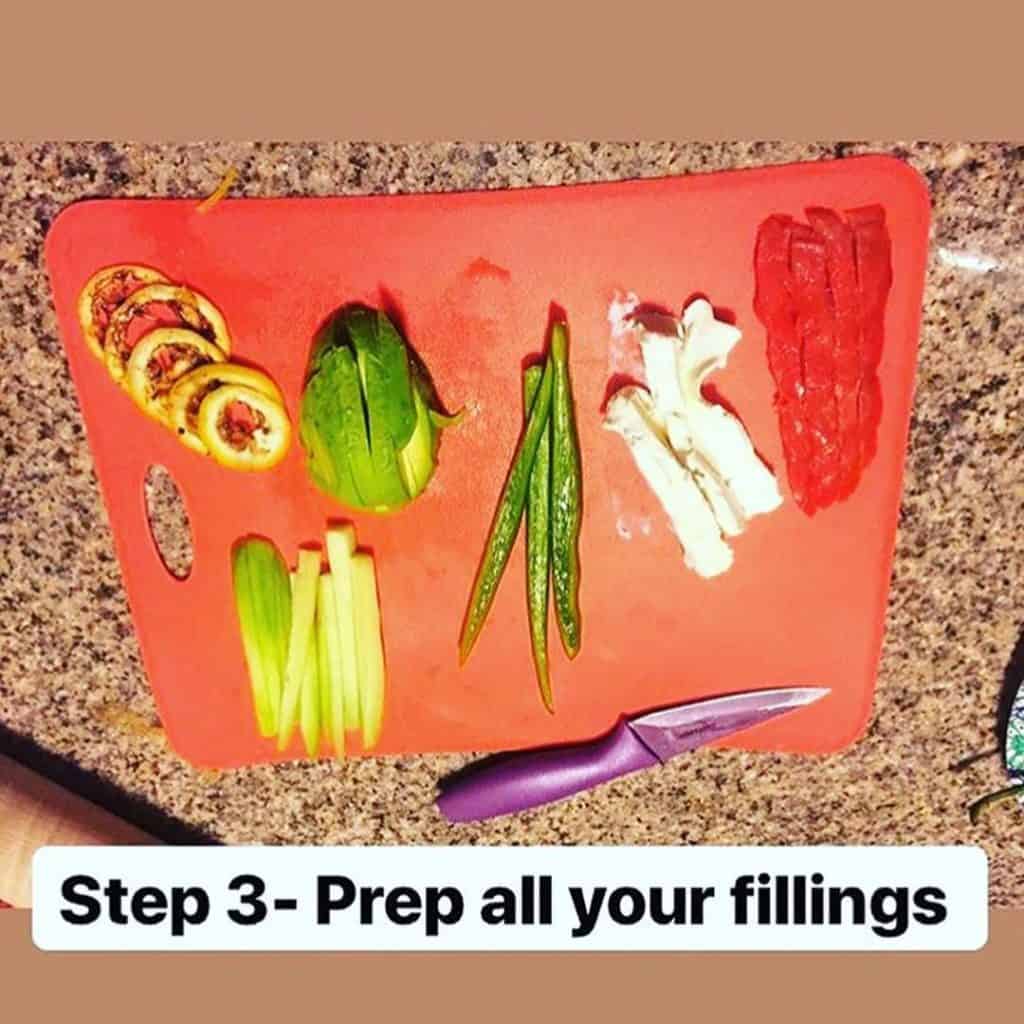
Remember space inside the roll is limited so slicing the fillings in a way that easily fits the centers is the best, keep them long and thin when you can.
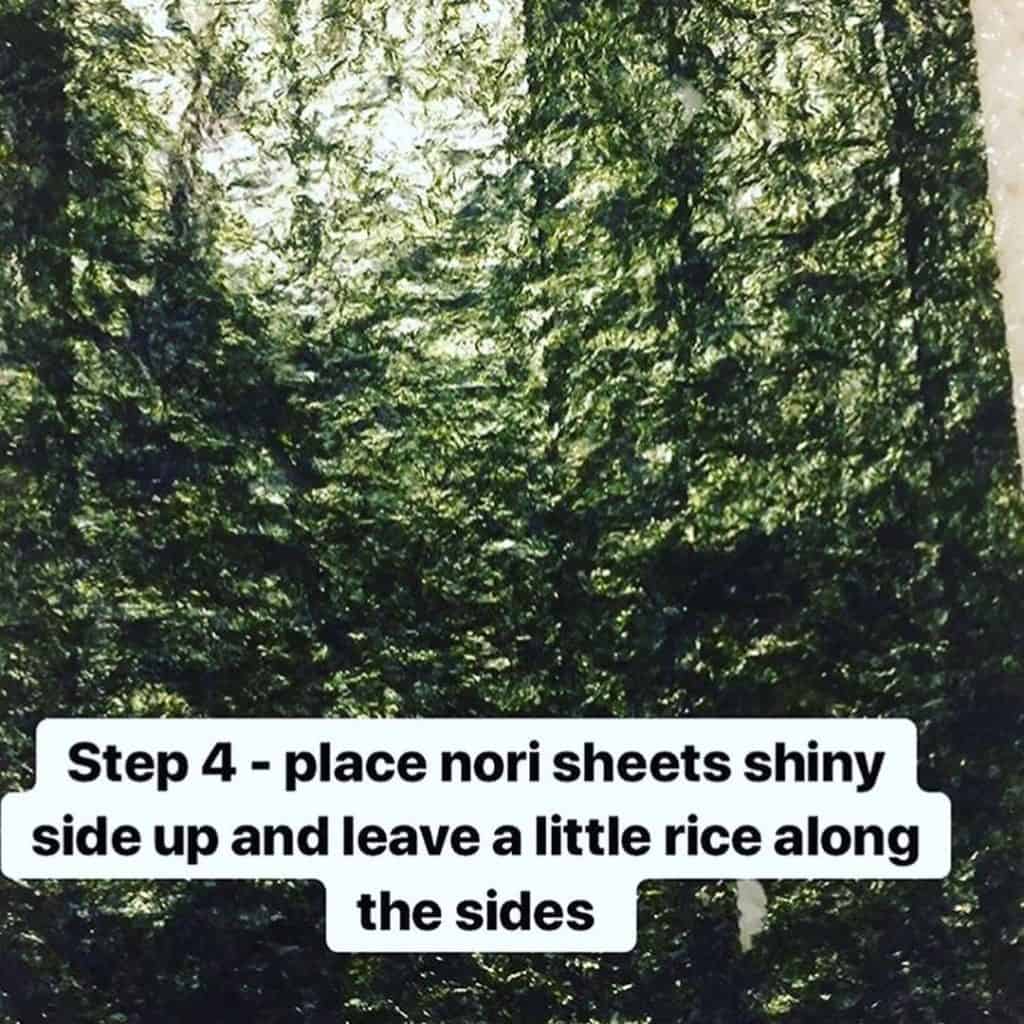
The rougher, duller side of the nori will immediately stick to your rice so be thoughtful before placing the nori down on the rice.
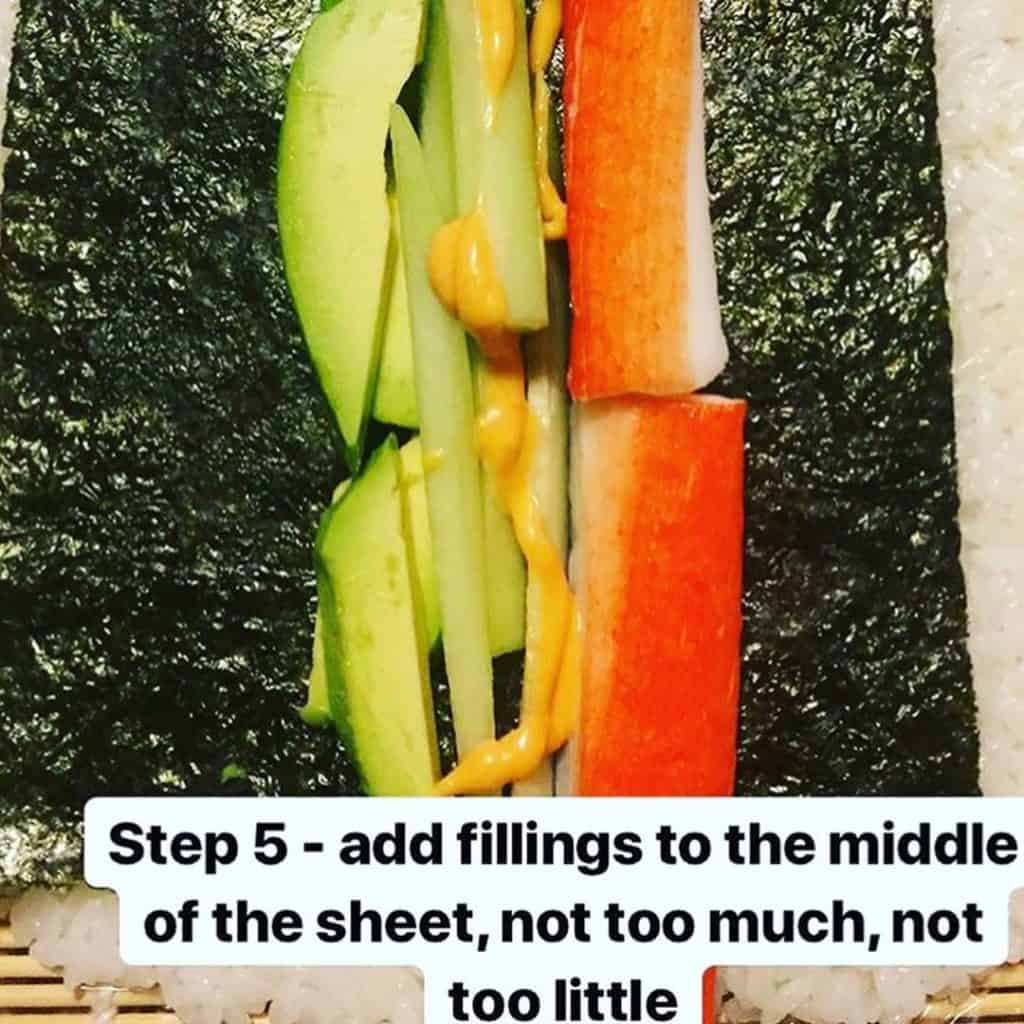
I tend to be an over filler and I have had to remove some ingredients more that a few times, I have also had to add a little more rice to the sides. So it may take a few rolls to get the filling ratio down. If you don’t fill it enough it will still be fine, it will just overlap a little.
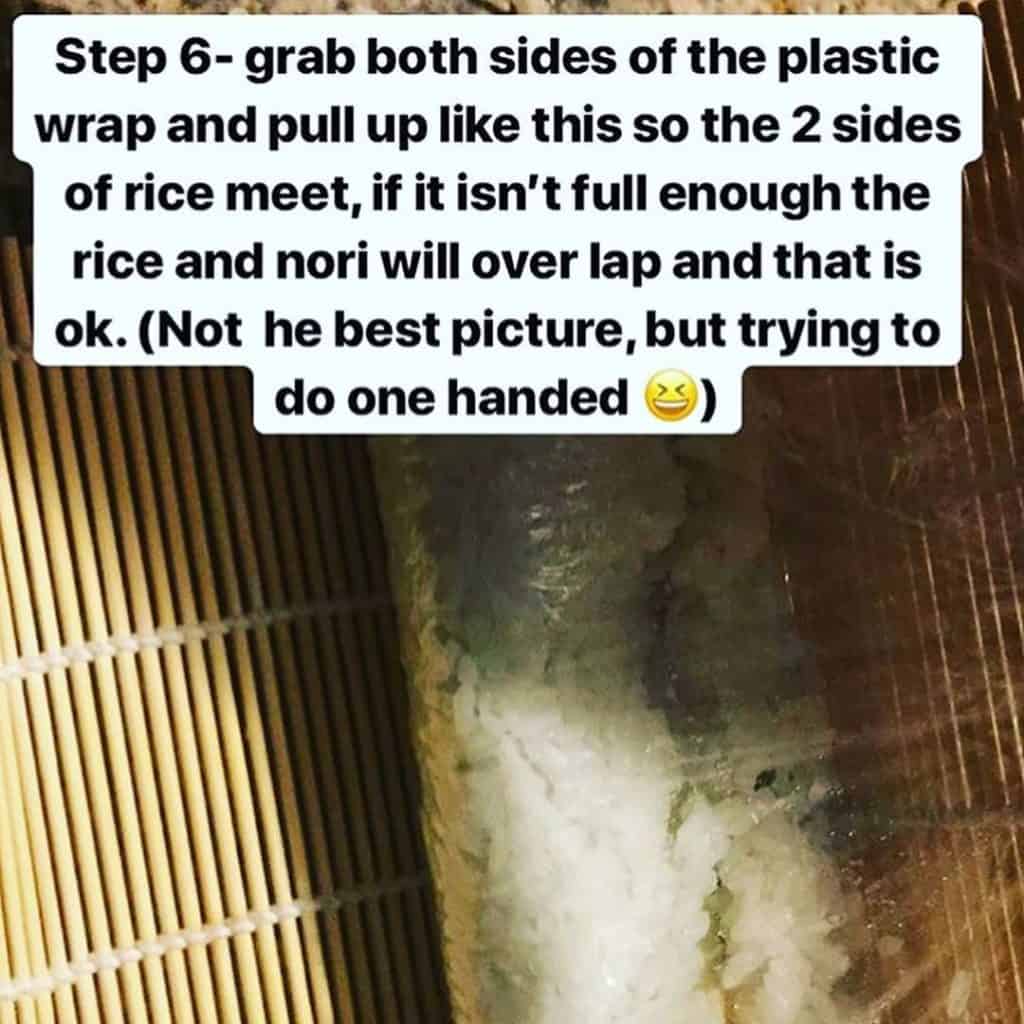
This step may take a little practice, but you want the roll to be tightly closed. This will ensure that the center ingredients do not fall out when you slice your roll.
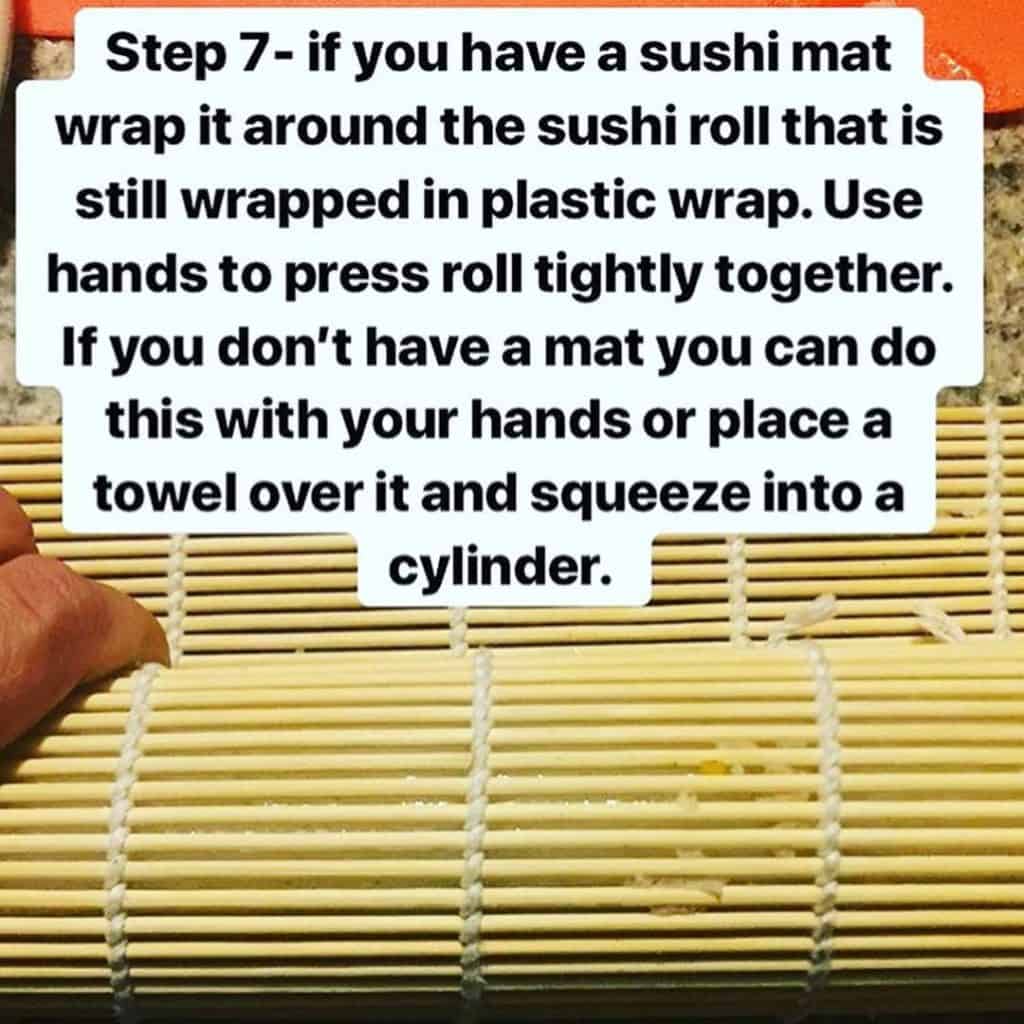
Sushi mats are great and inexpensive to buy, however, you can roll sushi without them too. You will just use your hand to press the roll firmly together into a cylinder shape. using a towel on top helps to make the roll more uniformly cylinder.
I would suggest rolling your sushi onto your serving plate, board or plate at this point because it will be the firmest and stay together the best vs when you top it and slice it.
Top with toppings and sauce and then you are going to want to slice your roll. Use a sharp knife or slightly serrated knife for this step, a dull knife will destroy your roll, because it will catch on the nori and inside ingredients. So you want something that will easily slice through the center ingredients without disturbing the rice. These two knife options work the best. If using the serrated knife, gently saw back and forth as you go through the roll, holding the roll with your other hand to keep it steady. If using a sharp knife, hold the roll so it stays steady.
Also, you may need to dip you knife in water or rice vinegar between each slice if your knife gets sticky it will begin pulling at the nori wrapping and it will pull part your roll.
Enjoy experimenting and eating your homemade sushi!
For sushi recipes seen in this homemade sushi 101 post check out the following links.
Smoked Salmon Sushi Roll RECIPE HERE
California Crunch Sushi Roll RECIPE HERE
Pepper Shrimp Sushi Roll RECIPE HERE