I love making caramel apples and make them every fall. I have been posting them on my Instagram for a few years and every year I get questions about making them from people who have made them many times to those who have never tried. So I decided to make a post all about how to make caramel apples with 21 questions and answers that someone might have along with tips and tricks to get professional caramel apples at home.
What do I need to make caramel apples?
To make caramel apples you will need the following:
- apples (i’ll go over what type to use down below)
- sticks (i’ll go over what types are best to use below)
- caramel ingredients (full list is down below)
- heat proof rubber spatula
- parchment paper
- chocolate (types best to use are below)
- add on’s (inspiration ideas down below)
- plastic gift bags – if gifting
- knife or apple cutter
What apples to use?
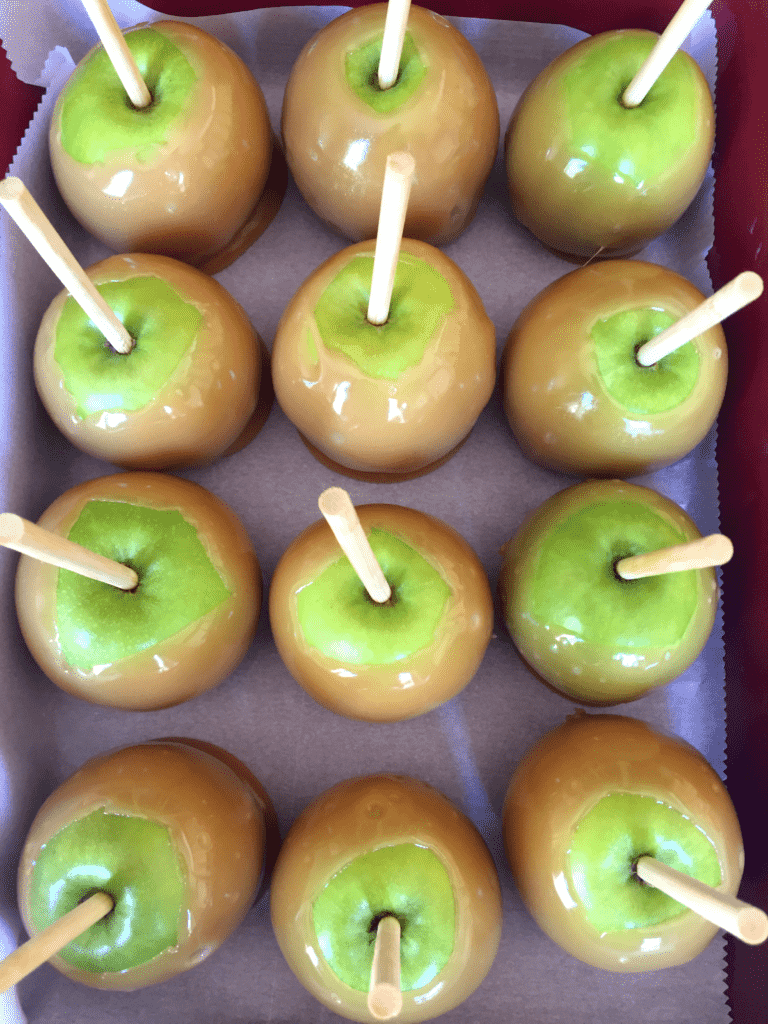
You can use any apple for caramel apples but the classic apple to use with the best flavor and texture for caramel apples is the green granny smith apple. It’s tartness and firm structure holds up the best to the rich caramel. The skins are also thicker so they hold up to the heat from the caramel when dipped. The flesh is firm so you get a textural contrast with the soft caramel.
If you are using a different type of apple, take into consideration the texture and tartness because those are the two main factors in making a delicious caramel apple. For example, a red delicious apple won’t give the same flavor balance as say a pink lady would. A red delicious would make for a sweet on sweet flavor combination when combined with the caramel and the texture would be on the softer side so it would all kind of mush together when eaten. A yellow apple would give a good flavor balance but the texture wouldn’t be as crisp. A honey crisp would tastes delicious but would be on the sweeter side and a little watery from the juiciness of the apple. So take all of those factors into consideration when picking an apple.
What sticks should I use?
You can use any stick or doweling that is thick and sturdy enough to hold the weight of the apple and that will hold it’s place when placed inside the apples center and hold up against the moisture of the apples interior. I prefer to use wood based sticks. Sucker or cake pop sticks will get soft and don’t work as well. I like to use the 5 inch dowels that have one end pointed for easy insertion into an apple, I buy them at grocery or craft stores in the candy and cake decorating isle, they are around $3-$4 for 30 sticks. Large Popsicle sticks also work well, the ones that are wider and sturdy work the best.
I have also had apples that had a stick from a tree inserted in the centers, Just make sure it’s clean and a non- poisonous tree. You may laugh but I lived where oleanders grew everywhere and I heard of a family once that roasted marshmallows with the oleander trees branches while camping and they all died. So, I have always been cautious of what tree I am using when it comes to food. Craft stores also sell decorative caramel apple sticks that make for a cute and festive caramel apple.
How do I prepare my apples?
I have been asked this question many times. Here is what I suggest. If apples are heavily waxed then you can dip them in boiling water for 30 seconds then remove and wash the apples with warm soapy water. If they aren’t waxy then washing with warm soapy water should be sufficient.
Remove all stickers and stems. Dry apples with a paper towel then let them air dry for about 30 minutes before dipping. Before you prepare the caramel, insert the sticks into the centers. If you flip the apples upside down it is easier to insert the sticks but you can insert it on either end of the apple. Pat down the centers of the apples with a paper towel after inserting the sticks.
What temperature should my apples be?
I get asked if I think the apples need to be cold before dipping alot. In my experience, I have found that room temperature or slightly below works best for me. The apples are usually cooler internally than room temperature. I have heard others say that you should chill your apples prior to dipping. However, I have found that they let off a little moisture when they are cooled right before so that is why I suggest room temperature because the skins are drier and a little better for the caramel to adhere to.
The concept of having a cold apple that the hot caramel can immediately stick to makes sense in theory but the moisture is the biggest factor for me. You can chill them then remove them from the refrigerator and thoroughly dry them off after they sit at room temperature for 30 minutes if you want them to be cold.
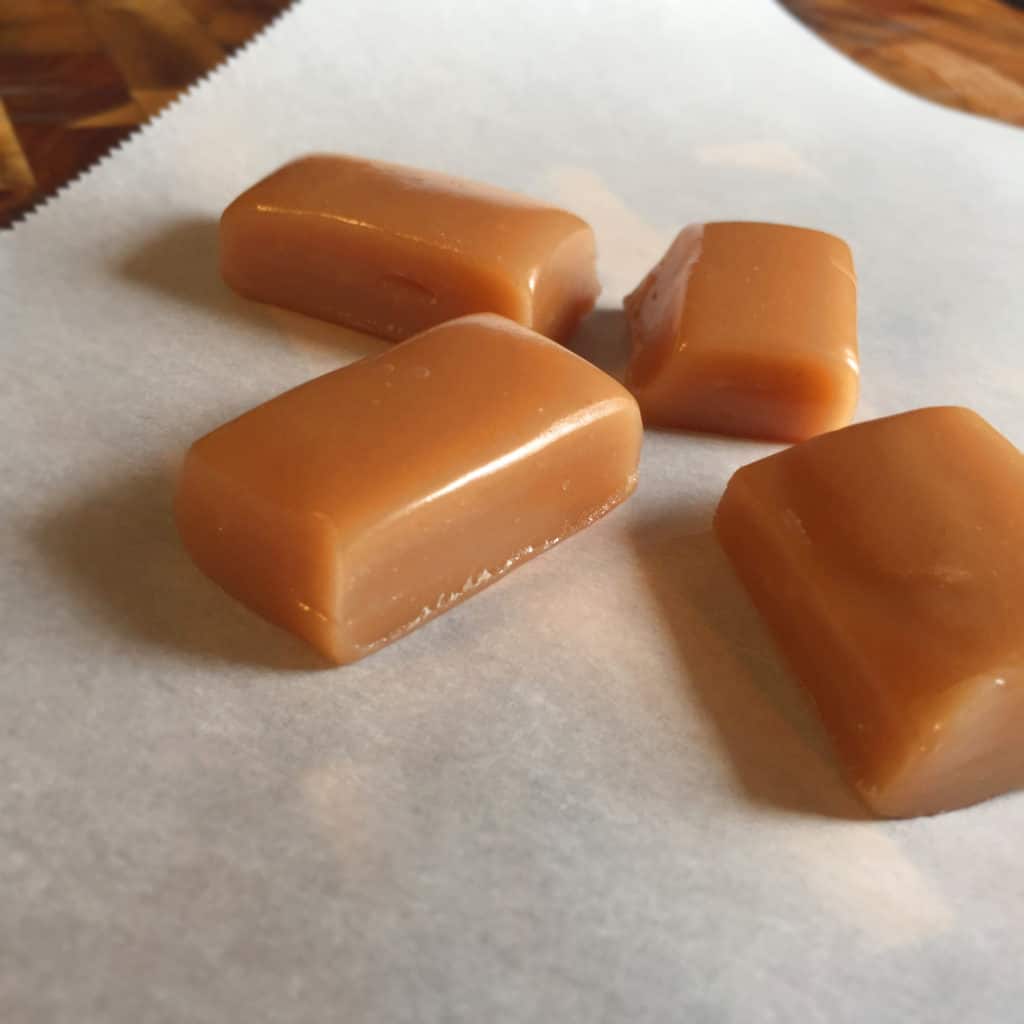
What caramel should I use?
I am an advocate for homemade caramel! It only takes about 15-20 minutes to make and tastes so delicious and decadent that it is worth it! My recipe for the best homemade caramel HERE or scroll down for another link to it. You can find out about the candy making stages, how to use a candy thermometer and how to test your caramel with a glass of cold water (the most accurate way) by scrolling down for a brief description under the question “what stage is best for caramel apples?” or by visiting my candy making 101 page HERE. It is also less expensive to make large quantities than buying pre-made caramel.
What if I want to use store bought caramel?
If you want to use store bought caramels you definitely can and I have found that they all will work well. You can find high quality ones at specialty baking stores that come in large batches and are easy to use.
When reheating and preparing the pre-made caramels, make sure you add the proper amount of water or milk to the caramels. You will still need to test your caramels cooking stage by doing the cold water test to check the constancy of your caramel before dipping your apples.
It needs to be just before hard ball stage, so that means when you drop a spoon full of the hot caramel into a glass of ice cold water then feel it with your hand it should form a ball that mostly holds it shape, it may flatten slightly but will not fall completely flat. The technical temp is 238 degrees Fahrenheit but don’t trust your thermometer to get the perfect temp, they are often a little off and tend to show temps below what your candy is actually at.
How do I make homemade caramel?
Making homemade caramel is a passion of mine! It’s fun to watch the caramel change colors and after years of experience you learn what color means what stage you are at. I’ve heard seasoned veterans say they cook it until it looks like a brown paper sack.
Here is my homemade caramel recipe
This recipe makes a large batch and will coat 12 large green apples with a little extra leftover.
Here is the Vegan Caramel recipe
What candy stage and temperature is the best for caramel apples?
I mentioned earlier to check out my candy making 101 page for the basics in candy making stages and how to check your caramel. In short, you want it just below hard ball stage and the temperature will be 238 F.
In candy making you have different temperature and cooking stages that produce different types of candies. These can be measured by a candy thermometer and the ice water test. The ice water test is when you fill a glass with ice cold water and while cooking your candy you spoon a little hot candy into the glass, you then reach in and grab the candy to feel the texture the caramel is at.
Here are the stages from lowest temperature to highest:
Thread stage – This will fall apart in your hand and feels like a syrup or sauce.
Soft ball stage – Where it will form a soft ball but that ball will promptly fall flat in your hand.
*Caramel stage – Just below the hard ball stage, I am talking like 3 degrees below, is the perfect caramel stage – the ball will hold it’s shape but will flatten very slightly or wilt after a few seconds of holding it, you can also go fully to hard ball stage for a little more toothsome caramel.
Hard ball stage – Where the ball formed in your hand stays in the shape of a ball but is still soft and pliable.
Soft crack stage – Means it will be hard on the outside and tough to work with your hands, this is the stage you would use for taffy, where you would pull the sugar until it softens.
Hard crack stage – When the candy is hard and snaps easily. This is used for peanut brittle, toffee, candy canes and hard candies.
What temperature should I dip my apples at?
The temperature you dip your apples at is very important. I dip my apples just after pulling the caramel off of the stove, I let the caramel stop boiling and I stir it to bring the temperatures down slightly. Then I pound the pan on my counter top to bring any bubbles up to the surface, then smooth them away with a rubber spatula. My counters are granite so it can take the heat, but lay down a towel or heat protecting cloth if your counter is heat sensitive.
I like to dip my apples while the caramel is above 200 degrees, so it is hot! I have found when the temperature go below 190 that the top of the caramel is already starting to set, so I have found this temperature window between ~ 220 and 190 degrees is the best range to dip the apples, I will talk about why below.
How do I keep the caramel from sliding off?
This is the most asked question I get every year. So here are a few tricks to prevent that from happening. Above I talked about a few reason for this happening.
First – Make sure the apples are fully washed, wax removed if they are waxy and fully dry.
Second – Make sure the caramel is to the proper stage, not too soft or too hard.
Third – Dipping the apples at a high enough temperature. When the caramel starts to cool it forms a thin layer of oil on the surface. This oil will cause the caramel to roll off the apple if the caramel is starting to set. It happens far before the caramel reaches it final setting temperature and the caramel will still burn you when it’s begun setting. Remember that below 190 degrees the caramel is starting to get too cold.
Some say that having the apples cold helps with this so the caramel instantly sets when it hits your apple and stays put. I have found this kind of works but isn’t a fool proof method because of the condensation from the apple cooling and releasing moisture can cause the caramel to loosen later or cause bubbles which I will talk about down below.
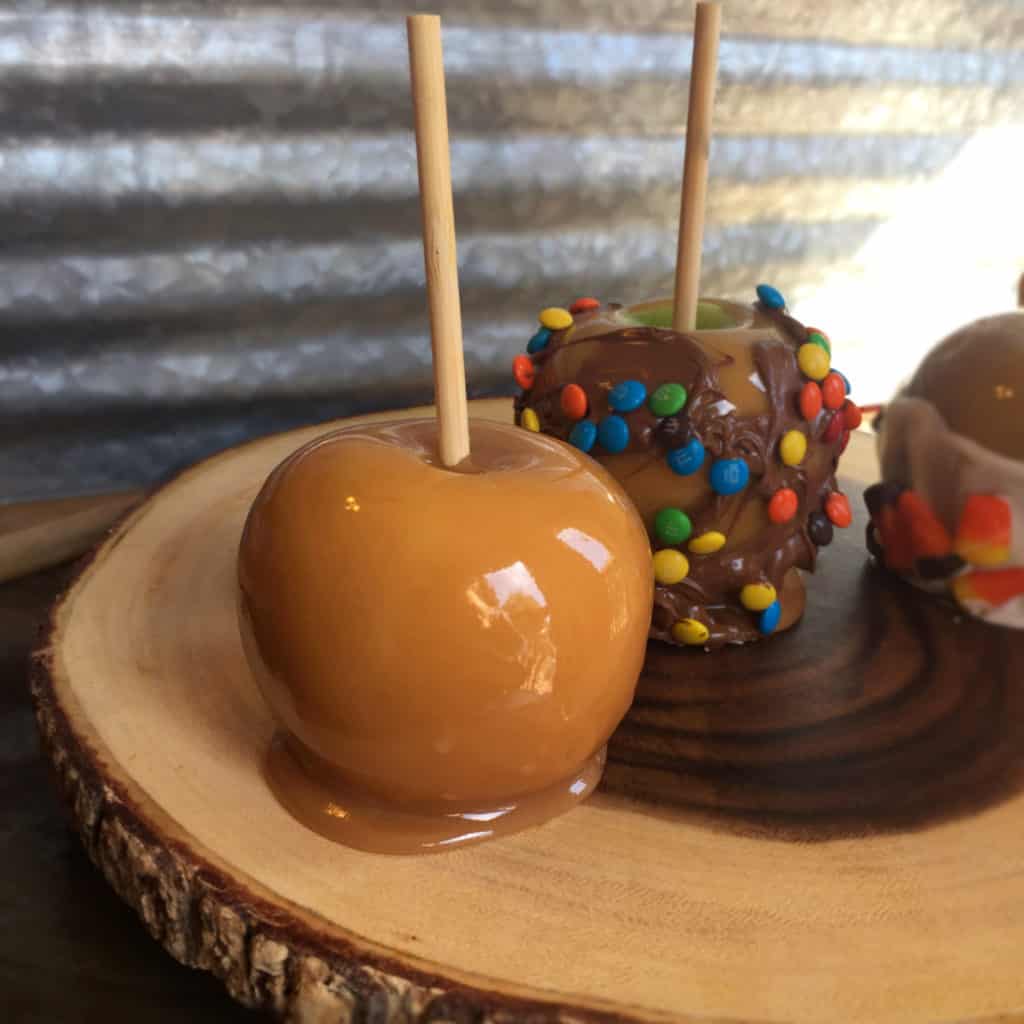
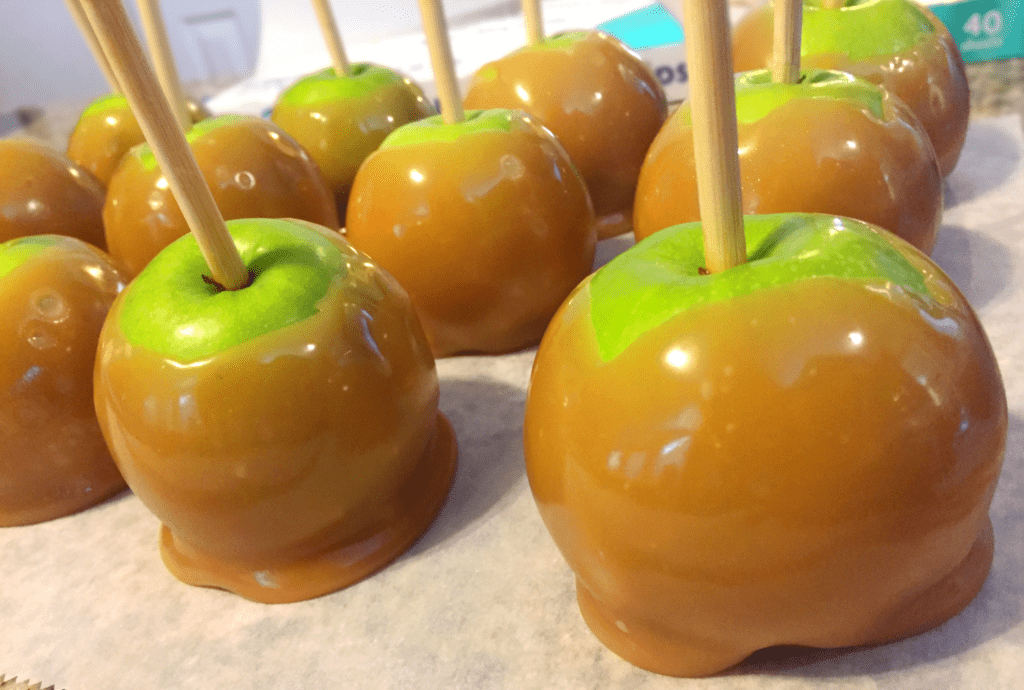
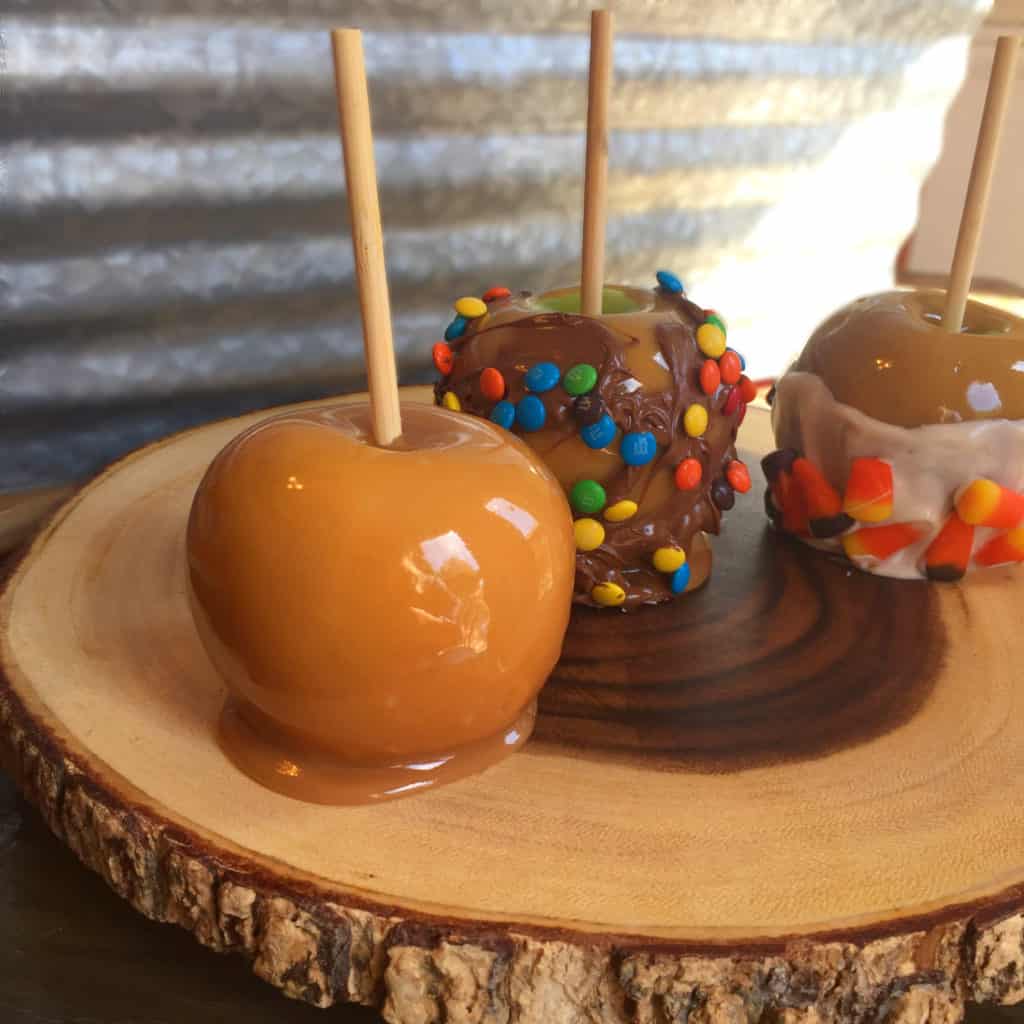
The dip and spin method:
Dip and spin your apples before placing on your parchment paper. I dip into the caramel and roll the apple around in the caramel. Tilting the pan to the side will help you get the whole apple immersed. I then lift up the apple and spin it over the caramel, allowing excess to run off the bottom. I then tip the apple upside down and spin again so the caramel runs back towards the top of the stick. Once the caramel looks thick and shiny I place it on the parchment paper.
This method will help you get an even coat on the whole apple and prevent a huge pond of caramel at the bottom of your apple, even though you will have a little puddle at the base of your apple unless you scrape a little of the excess off the bottom with a spoon or butter knife before setting it down on the parchment paper. I like a little ledge though because it makes a little stand for the apple to sit on but that is just personal preference.
How do I prevent bubbles from forming?
Because we are dipping our apples at a high temperature there is going to be steam released from the apple skins. This will cause little or sometimes large bubbles to form. I have found that when that happens just take a little needle or fork and pierce the bubble when it forms then gently press down the bubble back onto the apple with your finger or the back of a spoon. You can do a second dip if you don’t want any bubbles and you want a thicker caramel coating.
What do I place my apples on to prevent sticking?
Parchment paper or wax paper will be your best friends when making any kind of candy, and especially caramel apples. You can also use a silpat or non-stick cookie sheet liner.

How long do my apples need to set before they are ready to eat?
Like I said before the caramel begins setting very quickly. I would suggest 10 minutes at room temperature to make sure the caramel is fully set, it will probably take less time though. You can check the caramel by gently pressing on the caramel and feeling if it’s sticky and warm or firm and not sticky.
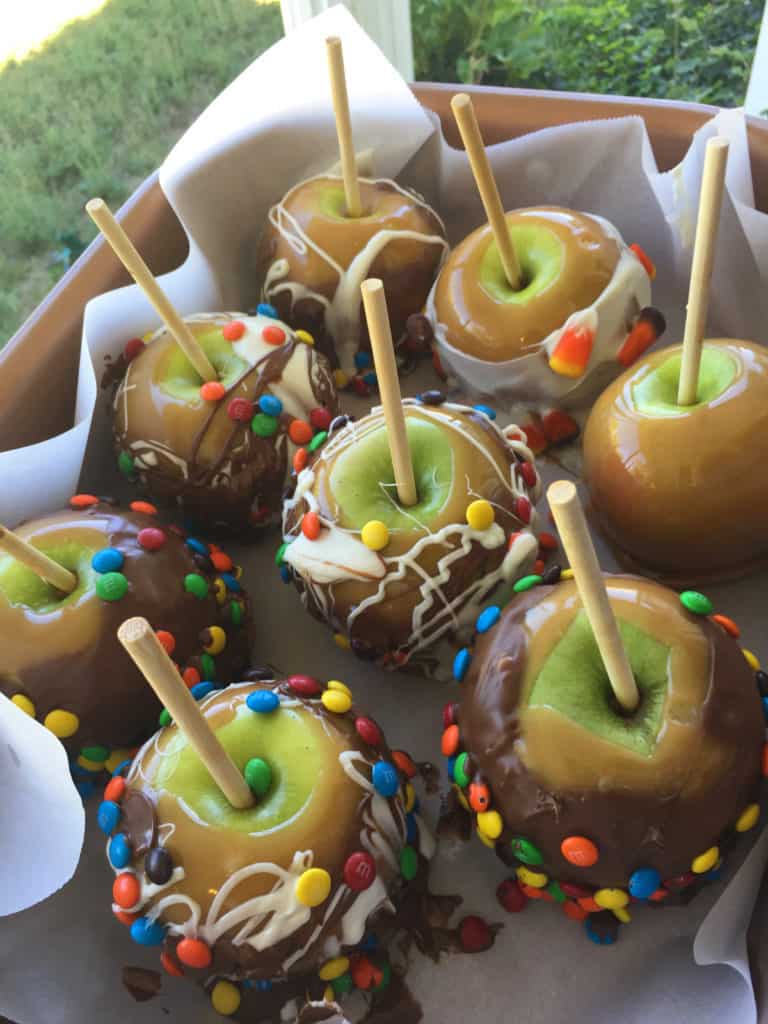
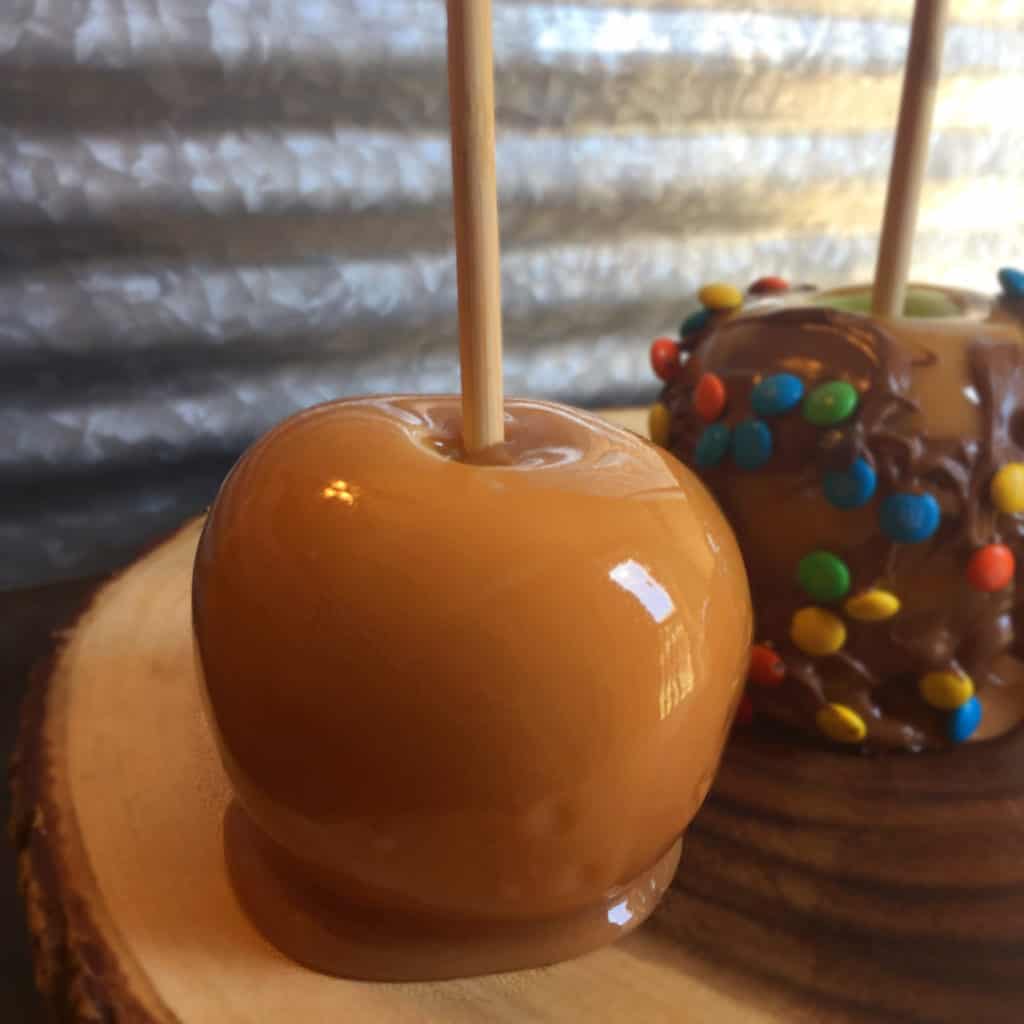
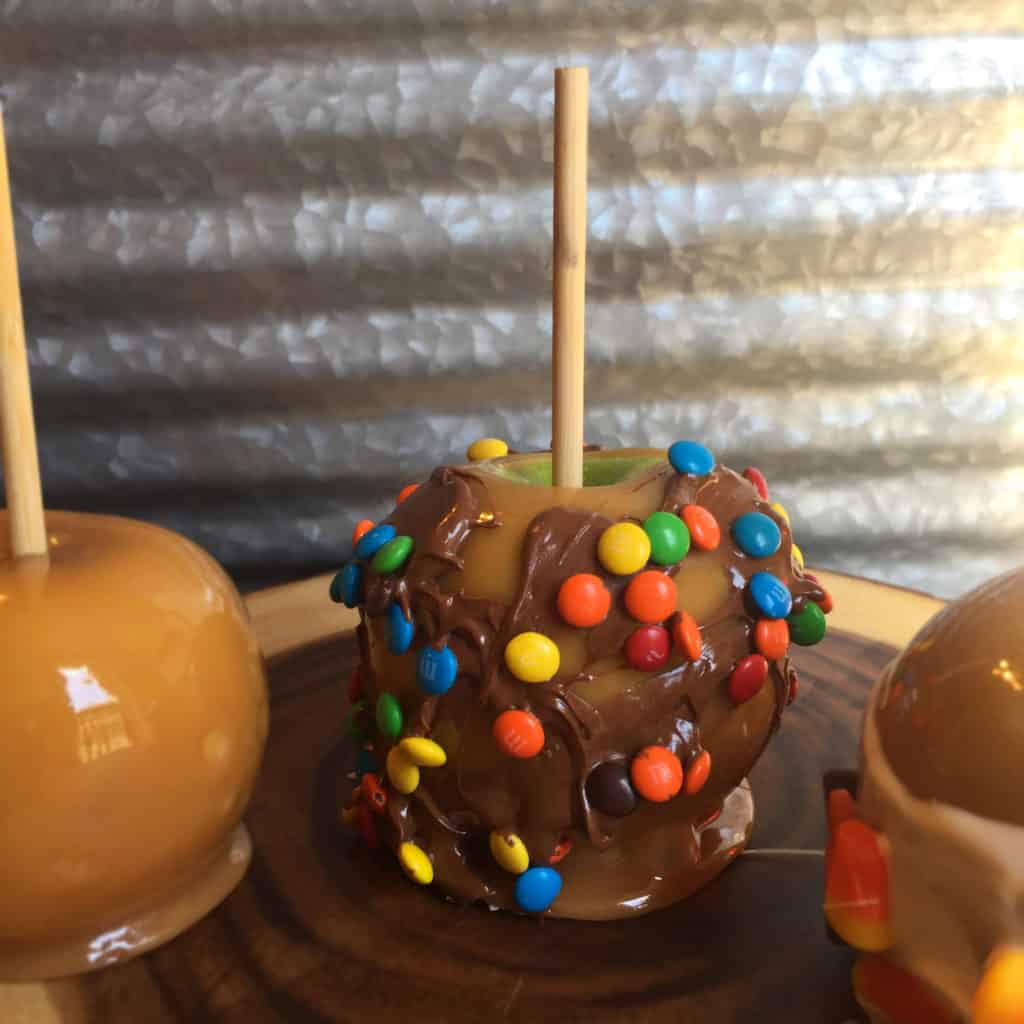
How do I add chocolate to the outsides of the apples?
You can dip your apples in chocolate or drizzle the outsides of the apples with chocolate and then add toppings to make extra fancy and decadent caramel apples. I taught a class on candy making last year and I pre-dipped everyone’s apples in caramel before the class then I had a chocolate dipping station set up for every one to dip their apples and add candy to them. I heated the chocolate in crock-pots on low to maintain a good dipping temperature.
To temper the chocolate you need to heat it up to the following temperatures:
Heat over a double boiler to:
dark chocolate : 120 F.
milk and white chocolate: 105 F.
Then you stir and work the chocolate until it reaches 82 F.. Then reheat chocolate up to 88 F to 91 F. before dipping.
*You can test the chocolate before by placing some on a piece of parchment paper and placing in the freezer, then checking for that classic snap and shiny appearance when breaking it apart, if you don’t get it, start the process over until you get it.
What chocolates to use for dipping?
I prefer flavor over functionality in my caramel apples so I always use real chocolate but you can make it easier on yourself by using candy melts.
I use dark, milk or white chocolates and if you want them to set and be firm with a nice snap then temper the chocolate, I usually don’t mind the chocolate being melty and messy because the apples are going to get eaten quickly and I keep mine refrigerated. However, above I added the process and temperatures needed to temper chocolate.
Candy melts can be microwaved and you don’t have to temper them at all, they aren’t as tasty but they are easier and take the stress out of setting and tempering the chocolate.
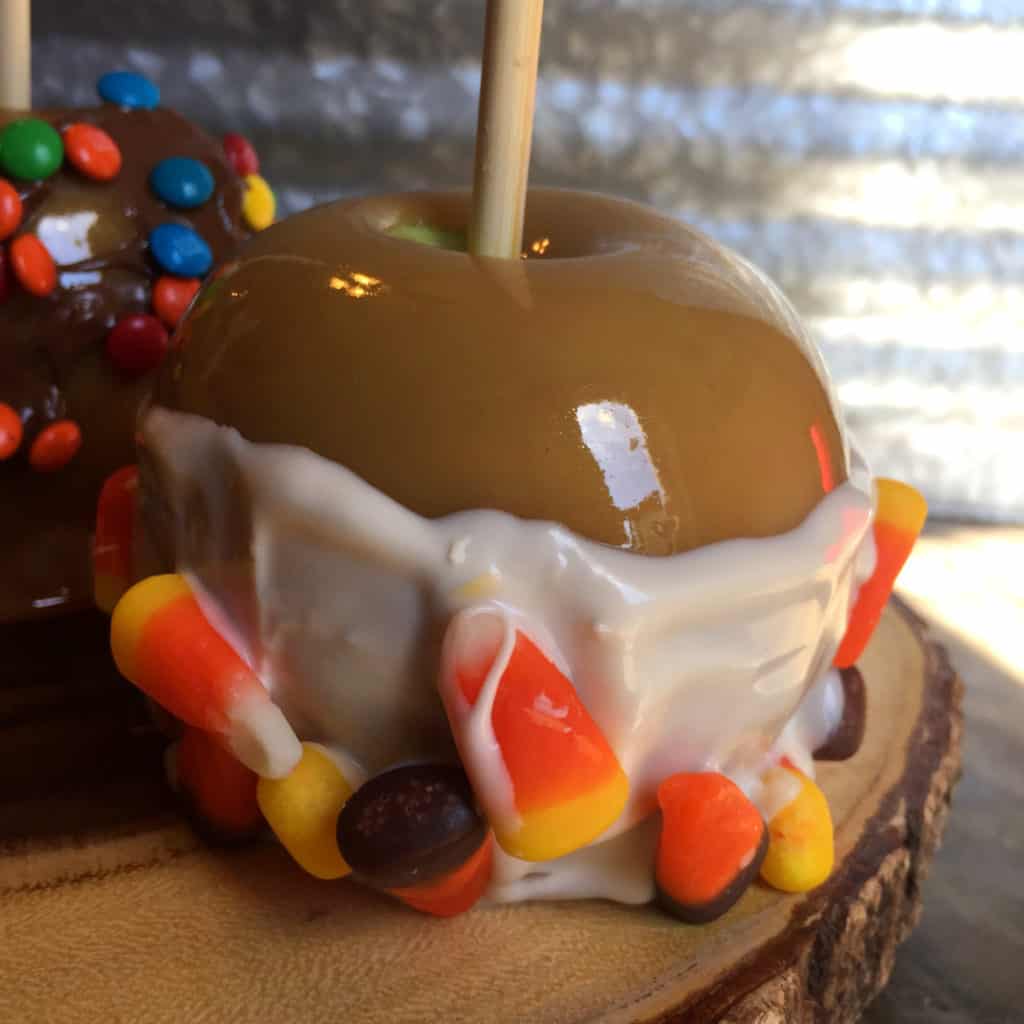
What can I add to the outsides of my apples and how do I prevent them from falling off?
After dipping in caramel, add things by rolling the caramel apples in finely chopped toppings. Heavy toppings are going to pull the caramel away from the apple. So I would suggest toppings like finely chopped nuts, sprinkles or cookie crumbs.
When adding toppings on after the apple has been dipped or drizzled with chocolate, wait a minute before adding any toppings. Let the chocolate cool slightly. once the chocolate is slightly set but still soft and feels sticky, add toppings of choice that will give them the best chance of staying put.
I would suggest: crushed Oreo cookies, mini m&m’s, candy cars chopped up, graham crackers, nuts, circus animal cookies, sprinkles, gummy bears, marshmallows, etc.
How do I set my chocolate?
I talked about tempering above but if you don’t want to temper your chocolate, simply place the apples in the freezer for 5 minutes and the chocolate will set or use candy melts.
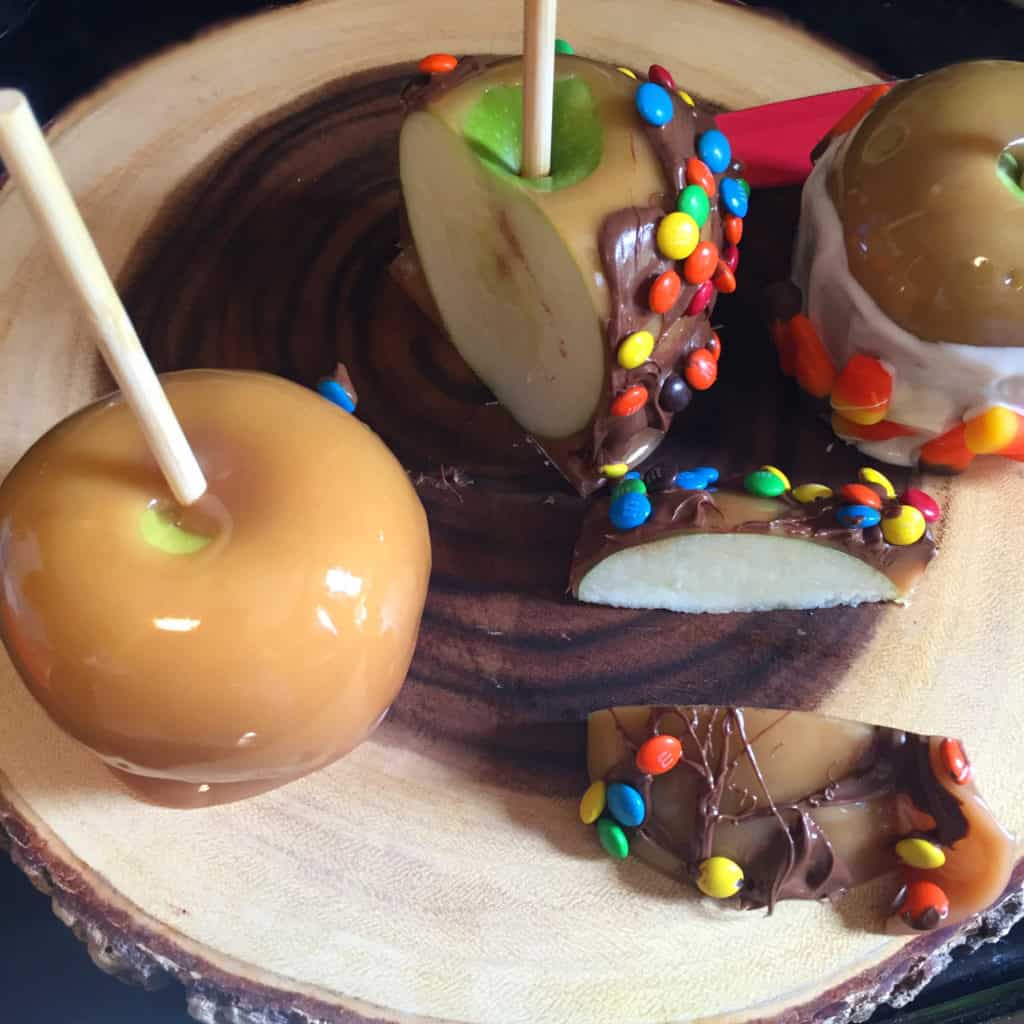
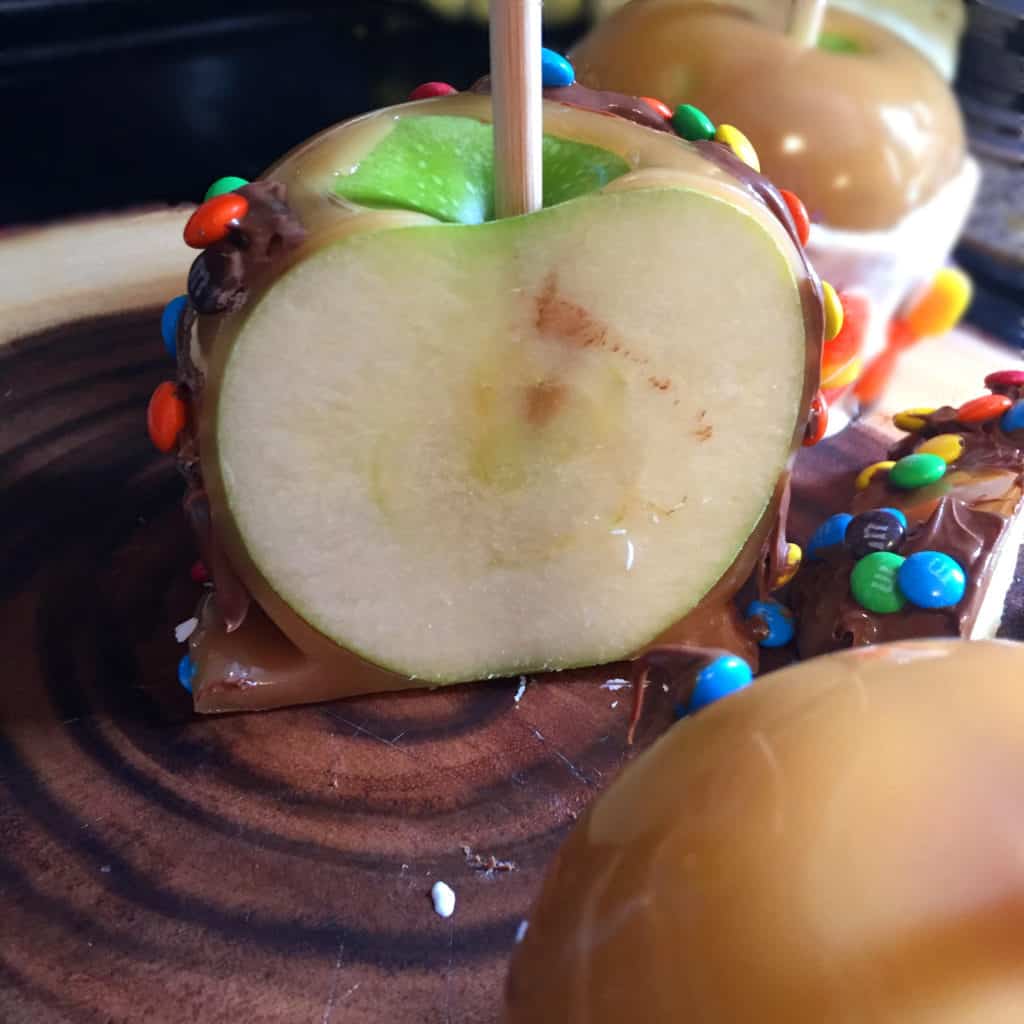
How do I cut a caramel apple?
You can use an apple cutter to cut a caramel apple or use a knife to cut 4 times, once on each side, while holding the apple pieces together to make a box shape around the core and stick, This will give you 8 pieces.
How do I store the caramel apples?
Caramel apples will store on the counter for roughly 1 day, the best way to store them is in a large Tupperware, zip lock bag or container in the refrigerator to prevent things from getting funky. The have even found listeria in some caramel apples that are left out. So it’s safe to refrigerate them.
How long will these keep for?
They will last roughly 3-4 days in the refrigerator but they are always best eaten within the first 1-2 days.
How do I package these for gifts?
You can buy large plastic gift or treat bags, make sure they are the larger size because the standard size will be too small. Place the apples in when the caramel and chocolate are set. Store in the refrigerator until you are gifting. You can also place them in large treat boxes that you will line the bottoms with parchment paper. You can place them on a small plate and wrap it will plastic gift wrap and tie it with a bow.
Whatever you use just make sure it’s something non-stick and the caramel and chocolate are set fully and chilled.
That’s it folks!
I hope this helped anyone making caramel apples for the first time or helped those who have made them and ran into some problems! If I missed anything or you have any other problems or concerns please comment on this post and I will get back to you and update the post.